How do you prune fruit trees

Pruning Fruit Trees 

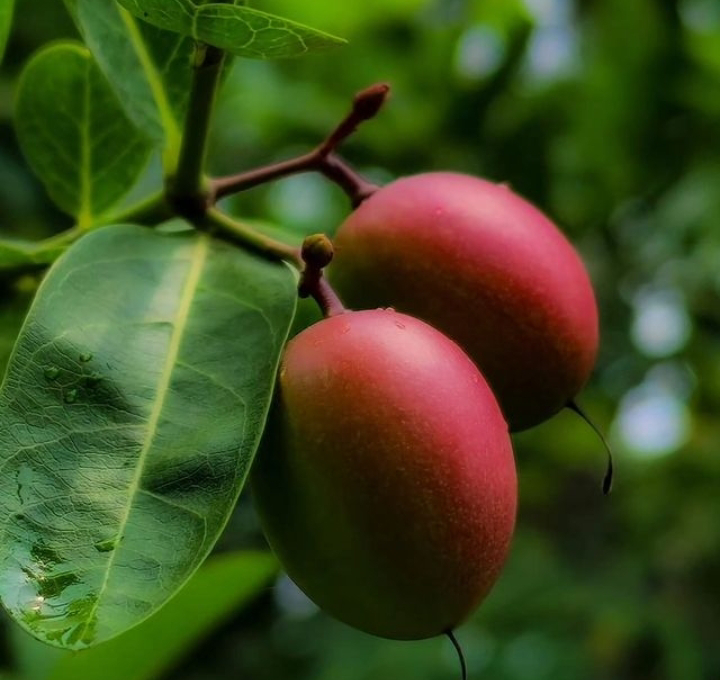
Pruning fruit trees is an essential horticultural practice that helps maintain the health, shape, and productivity of the trees. Proper pruning can lead to increased fruit production, improved fruit quality, and enhanced overall tree vigor. Here are some general guidelines for pruning fruit trees:
1. **Timing:** The best time to prune fruit trees varies depending on the type of tree. As a general rule, prune deciduous fruit trees during their dormant season, typically in late winter or early spring before new growth begins. Citrus trees, on the other hand, can be pruned lightly throughout the year, as they do not have a true dormant period.

2. **Tools:** Use sharp, clean pruning tools such as hand pruners, loppers, and pruning saws. Dull or unclean tools can damage the tree and potentially spread diseases.
3. **Remove Dead and Diseased Wood:** Start by removing any dead, damaged, or diseased branches. This will improve the tree's overall health and prevent the spread of diseases to other parts of the tree.

4. **Thinning:** Thin out crowded branches to allow more light and air circulation through the canopy. This helps in reducing the risk of fungal diseases and allows sunlight to reach all parts of the tree, promoting even fruit ripening.

5. **Shape the Tree:** Prune to shape the tree, removing branches that grow inward, downward, or cross each other. Aim for an open center or modified central leader structure, depending on the tree type. A well-shaped tree allows for better sunlight penetration and easier fruit harvesting.
6. **Heading Cuts:** Use heading cuts (cutting back to a bud) to control the height and spread of the tree. Avoid cutting off more than a third of a branch's length, as overly aggressive pruning can stress the tree.
7. **Water Sprouts and Suckers:** Remove water sprouts (vigorous, upright shoots growing from branches) and suckers (shoots growing from the rootstock below the graft union) as they do not contribute to fruit production and can sap the tree's energy.

8. **Consider Growth Habit:** Different fruit trees have different growth habits, so pruning techniques can vary. For example, apple and pear trees often benefit from more aggressive pruning to stimulate new growth, while peach trees may require more moderate pruning.
9. **Protective Measures:** After pruning, consider applying a horticultural wound dressing or pruning paint to large cuts. While some experts debate its necessity, it can offer some protection against pests and diseases.

10. **Clean Up:** Once you've finished pruning, remove and dispose of the pruned branches properly. Compost healthy trimmings, but discard diseased material away from the orchard.

It's important to note that different fruit trees may have specific pruning requirements, so you should consult specific pruning guides for the types of fruit trees you have in your orchard or garden. If you are unsure or inexperienced with pruning, consider seeking advice from a local horticulturist or arborist. They can provide personalized guidance and help you ensure your fruit trees thrive.

benefit Insect attraction in Garden

Attracting insects in garden 

Attracting insects to your garden can be incredibly beneficial for various reasons. Insects play a vital role in pollination, pest control, and overall ecosystem health. Here are some ways to attract beneficial insects to your garden:

1. Plant diverse flowers: Grow a wide variety of flowering plants, especially native species, that bloom at different times of the year. This will attract a diverse range of insects with varying lifecycles and preferences.
2. Provide water sources: Create a small water feature like a birdbath or a shallow dish with pebbles for insects to drink from and bathe. Be sure to keep the water fresh and clean.

3. Avoid pesticides: Minimize the use of chemical pesticides as they can harm beneficial insects along with the harmful ones. Instead, focus on natural pest control methods like companion planting or introducing beneficial insects like ladybugs or praying mantises.

4. Install insect hotels: Create habitats for insects to nest and hibernate by setting up insect hotels or bug houses. These can be made from various materials such as wood, bamboo, and straw.

5. Leave some areas wild: Embrace a more natural approach in certain areas of your garden by leaving some sections untamed with wildflowers, tall grasses, and fallen leaves. These provide shelter and food for insects.

6. Include host plants: Incorporate host plants in your garden that specific insects use for laying eggs and feeding their young. For example, milkweed is vital for monarch butterflies.

7. Use compostCompost enriches the soil and promotes healthy plant growth, which, in turn, attracts more insects.
8. Introduce beneficial nematodes: These microscopic organisms can help control harmful insect pests in the soil.

9. Avoid excessive mulching: While mulching is beneficial, excessive mulch can reduce the availability of nesting sites for ground-nesting insects.
10. Welcome spiders: Spiders are excellent predators and help control insect populations. Allow some cobwebs to form in corners and gaps.

11. Consider night-blooming flowers: Certain flowers bloom at night and attract moths and other nocturnal insects, adding diversity to the insect population.

12. Reduce artificial lighting: Minimize the use of bright outdoor lights at night, as they can disrupt insect behavior and disorient them.

Remember that it's essential to strike a balance in your garden to encourage a healthy ecosystem. By attracting beneficial insects, you'll create a more sustainable and harmonious environment while reducing the need for harmful chemical interventions.

Protect Garden in Weather

Protect your garden extremely weather 


 weather conditions is crucial to ensure the health and survival of your plants. Here are some tips for safeguarding your garden in various weather situations:

1. Heatwaves:
   - Mulch: Apply a thick layer of organic mulch (e.g., wood chips, straw) around plants to retain soil moisture and regulate temperature.
   - Shade cloth: Use shade cloth or row covers to provide temporary shade during intense heat.
   - Watering: Water your garden deeply and early in the morning or late in the evening to prevent water loss through evaporation.

2. Cold Snaps/Frosts:
   - Covering plants: Use frost blankets, old bedsheets, or burlap to cover sensitive plants overnight when frost is expected.
   - Move potted plants: If possible, bring potted plants indoors or to a sheltered area during cold snaps.
   - Watering: Watering plants before a frost can help them retain some heat.

3. Heavy Rain and Storms:
   - Drainage: Ensure good drainage in your garden to prevent waterlogged soil and root rot.
   - Staking: Stake tall and fragile plants to prevent them from getting damaged by strong winds.
   - Pruning: Regularly prune dead or weak branches to prevent them from falling and causing damage during storms.

4. Drought:
   - Watering: During drought periods, water deeply and less frequently to encourage deep root growth.
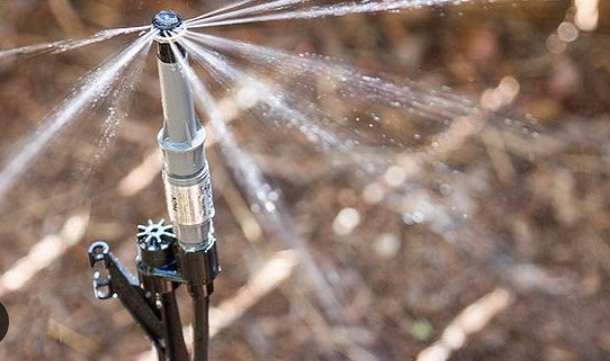
   - Drip irrigation: Use drip irrigation systems to target water directly to the plant roots, minimizing water wastage.
   - Rainwater harvesting: Collect rainwater to use for watering during dry spells.

5. Hailstorms:
   - Protective covers: Use netting or hail blankets to shield plants from hail damage during storms.
   - Hail-resistant plants: Consider planting more resilient plants that can withstand hail better.

6. Strong Winds:
   - Windbreaks: Plant windbreaks like trees, shrubs, or fences to create a barrier against strong winds.
   - Staking: Properly stake young or delicate plants to prevent them from getting uprooted.

7. Snow and Ice:
   - Gently remove snow: Shake snow off branches gently to prevent them from breaking under the weight.
   - Avoid walking on frozen ground: Walking on frozen soil can damage plant roots; use wooden planks to distribute weight if necessary.

8. Extreme Weather Planning:
   - Choose weather-resistant plants: Opt for plants that are well-adapted to your local climate and can withstand extreme conditions.
   - Garden layout: Consider the natural landscape and position plants in sheltered spots when possible.

Remember to monitor weather forecasts regularly and be prepared to take action when extreme weather events are predicted. Quick responses can make a significant difference in protecting your garden from damage.

Organic Fertilizer Benifits

Organic fertilizers offer several benefits compared to synthetic or chemical fertilizers. Here are some of the key advantages of using organic fertilizers:

1. Environmentally friendly: Organic fertilizers are made from natural sources such as compost, manure, and plant materials. They do not contain harmful chemicals or synthetic additives that can leach into the soil and water, reducing the risk of environmental pollution and damage.

2. Soil health improvement: Organic fertilizers improve soil structure and fertility over time. They encourage the growth of beneficial microorganisms in the soil, which helps to enhance nutrient availability and overall soil health.

3. Slow-release of nutrients: Organic fertilizers release nutrients gradually as they decompose, providing a steady supply of essential nutrients to plants over an extended period. This slow-release characteristic reduces the risk of nutrient leaching and ensures a more sustained nutrient supply to plants.

4. Reduced risk of nutrient imbalances: Unlike chemical fertilizers, organic fertilizers contain a balanced mix of nutrients. This reduces the risk of nutrient imbalances in the soil, which can negatively impact plant health and growth.

5. Safe for beneficial organisms: Organic fertilizers are generally non-toxic and do not harm beneficial insects, earthworms, or other organisms in the soil. These organisms play crucial roles in maintaining a healthy ecosystem and can contribute to natural pest control.

6. Improved plant and crop quality: Organic fertilizers contribute to the development of stronger, healthier plants. They enhance root development, improve nutrient uptake, and increase the resilience of plants against diseases and environmental stress.

7. Long-term soil fertility: Continuous use of organic fertilizers can lead to improved soil fertility and structure over time. As organic matter breaks down, it enriches the soil with essential nutrients, making it more productive and sustainable for future plant growth.

8. Reduced chemical exposure: By using organic fertilizers, farmers and gardeners can minimize their exposure to potentially harmful chemicals found in synthetic fertilizers. This is particularly important for those who grow food crops or have children and pets playing in the garden.

9. Carbon sequestration: Organic matter in organic fertilizers helps sequester carbon in the soil, contributing to mitigating the effects of climate change.

While organic fertilizers offer numerous benefits, it's essential to note that they may not provide nutrients as quickly or in as concentrated amounts as some synthetic fertilizers. As such, proper application and understanding of the specific needs of plants and soil are crucial to maximizing the benefits of organic fertilizers. Additionally, the quality of organic fertilizers can vary, so choosing reputable sources or producing compost at home can ensure the best results.

weed control Methods in Garden

Controlling weeds in a garden is essential to maintain the health and appearance of your plants. 


1. Hand-pulling: One of the simplest ways to control weeds is by manually pulling them out from the root. This is best suited for small gardens or areas with minimal weed growth.

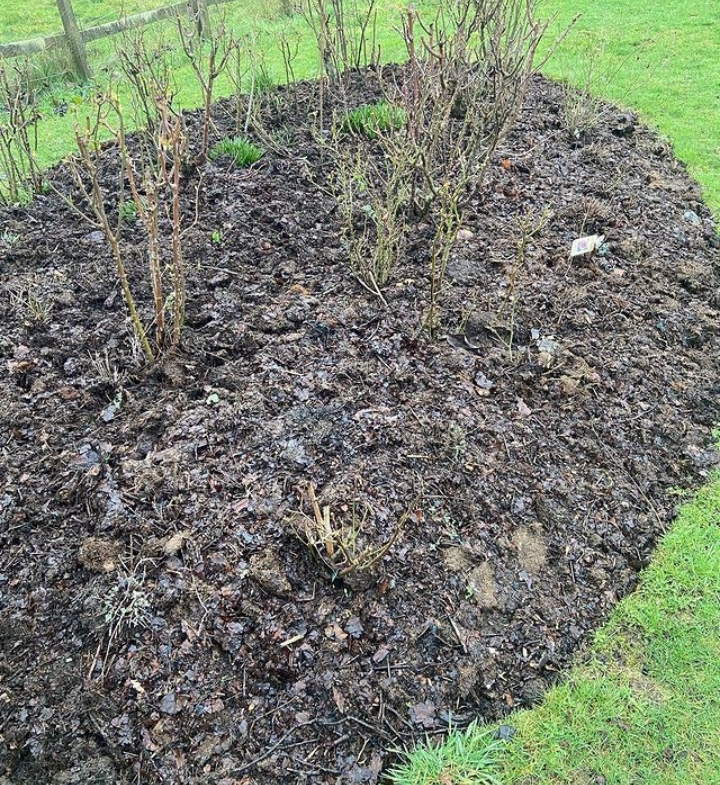
2. Mulching: Mulching is an effective way to suppress weed growth. Apply a layer of organic mulch (such as wood chips, straw, or compost) around your plants, which helps prevent sunlight from reaching weed seeds, hindering their germination and growth.
3. Weed barriers: Consider using weed barriers or landscape fabric around your plants. These barriers prevent weeds from emerging while still allowing water and nutrients to reach your plants.
4. Regular maintenance: Consistent gardening practices like cultivating the soil surface and removing weeds as soon as they appear can help keep them in check before they go to seed.

5. Herbicides: If the weed infestation is severe, you may consider using herbicides. However, use these products with caution, as they can harm beneficial plants and insects if not applied correctly. Always follow the instructions and guidelines provided on the product label.

6. Companion planting: Planting certain species together can naturally discourage weed growth. For instance, some plants release natural chemicals that inhibit weed growth, while others create shade that limits weed germination.

7. Proper spacing: Plant your garden densely to reduce open spaces where weeds can take root and thrive.
8. Regular watering and fertilizing: Healthy, well-nourished plants are better equipped to compete with weeds. Watering and fertilizing your plants appropriately can enhance their growth and resilience.

9. Preventative measures: Be cautious when bringing new plants or soil into your garden, as they may carry weed seeds. Inspect and clean any gardening tools to avoid unintentionally spreading weeds.

By employing a combination of these methods, you can effectively control weeds in your garden and create a healthier environment for your desired plants to thrive. Remember that consistent monitoring and maintenance are essential to keep weed populations under control.

low maintenance plant for beginners

For beginners looking to start gardening with low maintenance plants, it's best to focus on varieties that are hardy, resilient, and require minimal care. Here are some excellent low maintenance plants to consider:

1. **Snake Plant (Sansevieria)**: This plant is virtually indestructible and can thrive in various light conditions, from low light to bright indirect light. It requires infrequent watering and can tolerate neglect.

2. **ZZ Plant (Zamioculcas zamiifolia)**: Similar to the snake plant, the ZZ plant is another hardy option that can tolerate low light and irregular watering. It stores water in its rhizomes, making it very forgiving.

3. **Pothos (Epipremnum aureum)**: Pothos is an excellent trailing plant that grows well in both low and bright light. It can go for extended periods without watering and is relatively easy to propagate.

4. **Spider Plant (Chlorophytum comosum)**: Spider plants are great for beginners. They are adaptable, require moderate watering, and can produce offsets (baby plants) that can be replanted.

5. **Succulents and Cacti**: Succulents and cacti come in various shapes and sizes, and they store water in their leaves or stems. They prefer bright light and need infrequent watering, making them ideal for low maintenance gardening.

6. **Peace Lily (Spathiphyllum)**: Peace lilies are low maintenance and can thrive in low light conditions. They will let you know when they need water, as their leaves droop slightly.

7. **Cast Iron Plant (Aspidistra elatior)**: As the name suggests, this plant is incredibly tough and can tolerate low light, low humidity, and irregular watering.

8. **Lavender (Lavandula)**: Lavender is a fragrant herb that requires little water once established and thrives in sunny, well-draining spots.

9. **Rosemary (Rosmarinus officinalis)**: Another herb that's easy to care for, rosemary prefers full sun and doesn't need much water.

10. **Air Plants (Tillandsia)**: Air plants are unique because they don't need soil to grow. They absorb moisture and nutrients through their leaves and can be displayed in creative ways.

Remember that while these plants are low maintenance, they still need some care. Watering should be done when the soil is dry, but avoid overwatering as it can lead to root rot. Regularly dust the leaves to keep them clean and healthy, and if a plant outgrows its pot, consider repotting it into a slightly larger container. With a little attention and love, these low maintenance plants will thrive and add beauty to your living space.

Watering Frequency Guidelines

Frequency of watering your Garden 

The frequency of watering your garden depends on various factors such as the climate, soil type, plants being grown, and the time of year. 
Here are some general guidelines to help you determine how often to water your garden:

1. **Soil Type**: Different  Soil preparation types retain water differently. Sandy soils drain quickly and may require more frequent watering, while clay soils hold water longer and may need less frequent watering.

2. **Climate**: If you live in a hot and dry climate, you'll likely need to water more frequently compared to a cooler and more humid climate.

3. **Time of Year**: Plants typically require more water during hot summer months and less during cooler seasons.

4. **Plant Types**: Different plants have different water needs. Vegetables and annual flowers often require more frequent watering, while established trees and shrubs may need less frequent watering once their root systems are well-established.

5. plant location : Plants in containers or raised beds tend to dry out more quickly and may need more frequent watering than those in the ground.

6. **Rainfall**: If you've had sufficient rainfall, you might not need to water as frequently. However, during dry spells, you may need to supplement with irrigation.

As a general rule of thumb, it's better to water deeply and less frequently, encouraging plants to develop deep root systems that can access water stored deeper in the soil. Shallow, frequent watering can lead to shallow root growth and make plants more vulnerable to drought stress.

To determine when to water, you can perform a simple soil moisture test. Stick your finger or a trowel about an inch into the soil near the plant's root zone. If it feels dry at this depth, it's time to water. However, if it still feels moist, you can wait a day or two and check again.

Adjust your watering schedule as needed based on the specific conditions in your garden, and remember that observing your plants and paying attention to their appearance is essential in understanding their water requirements. Over time, you'll become more familiar with your garden's needs and be able to fine-tune your watering routine.

Best Vegetables Planting Time

Best time for Planting Vegetables 

The best time for planting vegetables depends on the specific type of vegetable and the climate of your region. Different vegetables have different temperature and daylight requirements for optimal growth. 
However, there are some general guidelines you can follow:

1. Spring Vegetables: Many cool-season vegetables thrive when planted in early spring as soon as the soil can be worked. These include peas, lettuce, spinach, broccoli, cabbage, kale, carrots, and radishes.
2. Summer Vegetables: Warm-season vegetables need to be planted after the last frost date in your area. These include tomatoes, peppers, cucumbers, zucchini, corn, beans, and eggplant.
3. Fall Vegetables: Some vegetables can be planted in late summer for a fall harvest. These include certain varieties of lettuce, spinach, radishes, carrots, and cabbage.
To find the best planting times for your specific location, it's essential to determine your average last frost date in the spring and first frost date in the fall. These dates will vary depending on your geographic region. You can find this information from your local agricultural extension office, gardening centers, or online resources.

Keep in mind that some areas with milder climates can have extended growing seasons, allowing for multiple plantings throughout the year. In contrast, colder regions may require starting seeds indoors and transplanting seedlings outdoors when the weather warms up.

Additionally, microclimates within your garden, such as areas that receive more or less sunlight or are sheltered from wind, can affect planting times for specific vegetables. Observe your garden's conditions and adjust planting accordingly.

Remember to provide adequate water, nutrients, and sunlight as needed for each vegetable you're growing. Following these guidelines should give you the best chance of successful vegetable planting and a bountiful harvest.

Soil preparation for Planting

Preparing the Soil for planting 

Preparing the soil for planting is a crucial step in gardening and agriculture. It helps create a favorable environment for plants to grow and thrive. Here are the general steps to prepare the soil for planting:
1. Clear the area: Start by removing any weeds, rocks, or debris from the planting area. This will provide a clean canvas for your new plants and prevent competition for resources.

2. Loosen the soil: Soil compaction can hinder plant root growth and drainage. Use a garden fork, shovel, or a tiller to loosen the soil to a depth of at least 8-12 inches (20-30 cm). Be careful not to over-till as it can damage soil structure.
3. Remove large obstacles: If there are large stones, roots, or other obstructions in the soil, it's essential to remove them as they can interfere with root growth.

4. Amend the soil: Soil amendments can improve its structure, fertility, and drainage. The specific amendments you need depend on your soil type and the plants you want to grow. Common soil amendments include:

   - Organic matter: Adding compost, well-rotted manure, leaf mold, or other organic materials helps improve soil fertility, water retention, and microbial activity.
   - Sand: For heavy clay soils, adding sand can enhance drainage and prevent waterlogging.
   - Peat moss: It can improve soil structure and moisture retention, especially for sandy soils.
   - Vermiculite or perlite: These amendments can improve aeration and drainage in heavy soils.

5. Adjust pH: Some plants have specific pH preferences. You can test your soil's pH with a soil testing kit and amend it accordingly. Lime is used to raise pH (lower acidity), and sulfur is used to lower pH (increase acidity).

6. Fertilize: Before planting, consider applying a balanced fertilizer or one tailored to the specific needs of your plants. Follow the manufacturer's instructions for the appropriate amount to use.

7. Mix and level the soil: Thoroughly mix the amendments and fertilizer into the soil, ensuring they are evenly distributed. Use a rake to level the soil surface for planting.

8. Water the soil: Before planting, water the soil to provide initial moisture for the seeds or transplants. This ensures the roots have access to water from the beginning.

9. Mulch the soil: Applying a layer of organic mulch around the plants after planting helps retain moisture, suppress weeds, and protect the soil from extreme temperatures.

Remember that soil preparation is not a one-time process. Good soil health requires ongoing care and maintenance, such as regular additions of organic matter and responsible irrigation practices. Each plant type may have specific requirements, so it's always a good idea to research the needs of the plants you plan to grow.

Composting in hot climate

Composting in hot climate 

Composting in a hot climate can present both advantages and challenges. The process of composting breaks down organic matter into nutrient-rich humus that can be used to enrich soil and support plant growth. However, in hot climates, the high temperatures can affect the composting process in several ways. 
Here are some tips and considerations for composting in a hot climate:

1. **Choose the right location *: Select a shaded area for your compost pile or bin. The intense heat from direct sunlight can dry out the compost and slow down the decomposition process.

2. **Aerate the compost**: In hot weather, compost piles can become overly compacted and lose essential airflow. Regularly turning or aerating the compost helps to introduce oxygen and maintain a healthy microbial population, which accelerates decomposition.

3. **Add moisture**: High temperatures can quickly dry out the compost, so it's crucial to monitor its moisture content. Water the compost pile as needed to keep it consistently moist but not waterlogged. Use a hose or a watering can to add water, especially during dry spells.

4. **Use smaller pieces of organic material**: In hot climates, it's beneficial to cut or shred the organic materials into smaller pieces. This increases the surface area and facilitates faster decomposition.

5. **Balance green and brown materialsBalance green and Balance Brown **: Composting requires a balance of nitrogen-rich green materials (such as kitchen scraps, fresh yard waste) and carbon-rich brown materials (like dried leaves, straw). In hot climates, the compost pile can quickly become too hot and smell foul if there's an excessive amount of nitrogen-rich materials. Finding the right balance is essential.

6. **Consider insulated compost bins**: If you're using a compost bin, consider getting one with insulation. Insulated bins can help regulate the internal temperature and protect the compost from extreme heat.

7. **Use shade cloth**: If you can't find a shaded area for your compost, consider using shade cloth or covering the compost pile with a tarp. This helps to reduce direct exposure to the sun and maintain a more stable temperature.

8. **Choose appropriate composting methods**: Some Composting Methods such as Vermicomposting (using worms), can handle hot weather better than traditional compost piles. Worm bins are generally more temperature-tolerant and can work efficiently in hot climates.

9. **Avoid meat and dairy**: In hot weather, avoiding the inclusion of meat, dairy, and other animal products in the compost is essential to prevent attracting pests and producing unpleasant odors.

10. **Monitor and adjust**: Regularly monitor the compost pile's temperature, moisture, and odor. Adjust your composting practices accordingly to create the ideal conditions for decomposition.

Composting in a hot climate can be more challenging, but with proper management and attention to the factors mentioned above, you can still successfully create nutrient-rich compost for your garden or plants.

Acephate 75 Sp pesticides uses /Acephate dosage per acre/Acephate attack instidces

Acephate 75 Sp uses  contains 75% active ingredient acephate, which is an organophosphate compound. This insecticide is known for its broad-...